Writing How-to Guides with SEOWritingAI
Step-by-Step Guide
In this step-by-step guide, we'll show you how you can use SEOWritingAI tools to create interesting, useful, unique How-to Guides in a few minutes.
Creating a new document
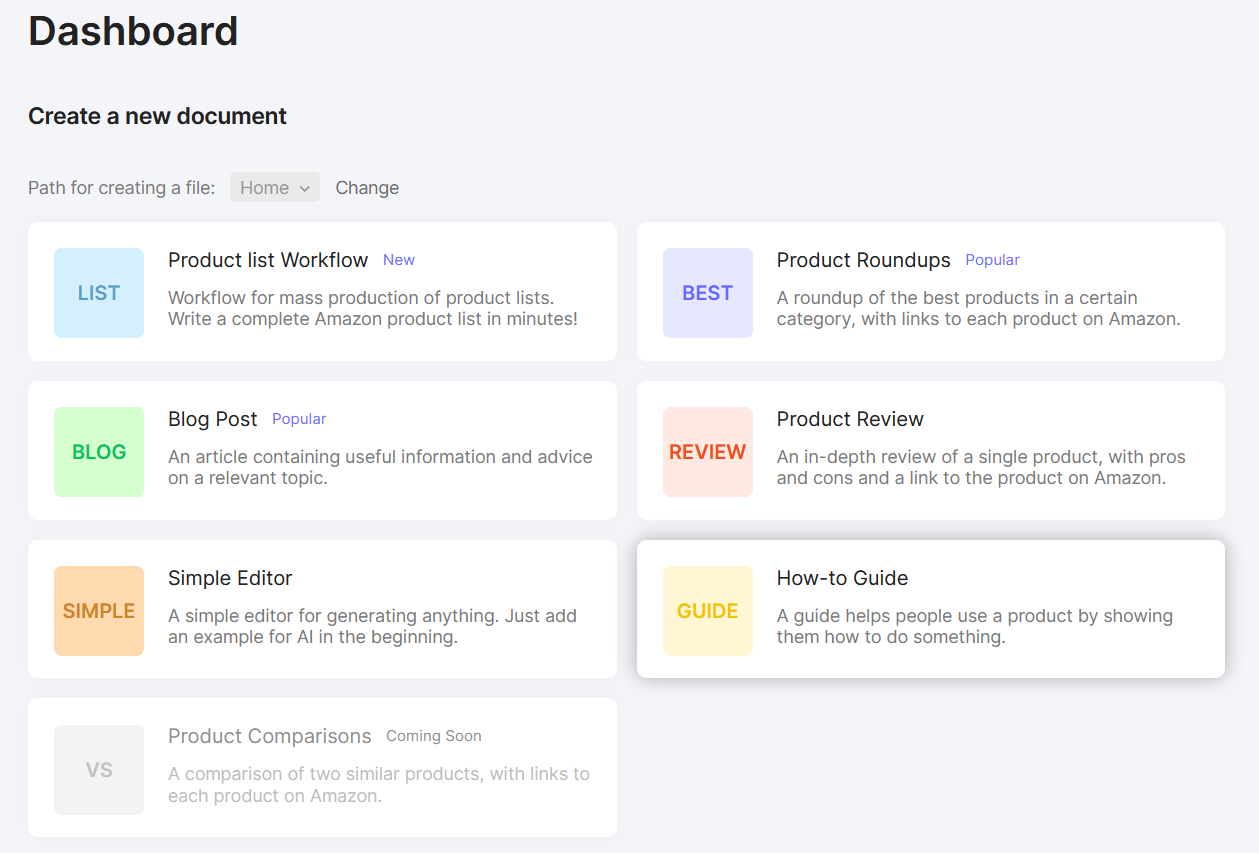
In your Dashboard or Documents section click on the How-to Guide block.
This will open up a convenient editor. Set the name of the document, so it is easy to find it later.

Filling out the brief
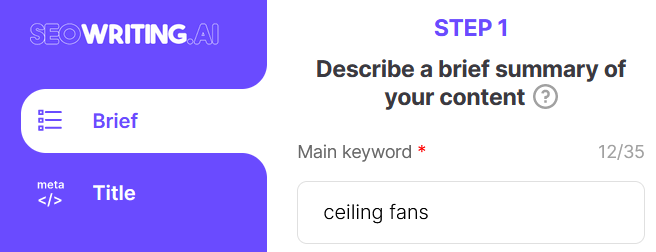
Fill out the brief to make it easy to check the progress of your writing. It will also help to maximize the SEO indicators in your content.
To write the best quality How-to guides, you need to check the top pages in Google in the required subject. This will help you choose the right keywords, determine the required number of words in the text, headings, paragraphs, and images.
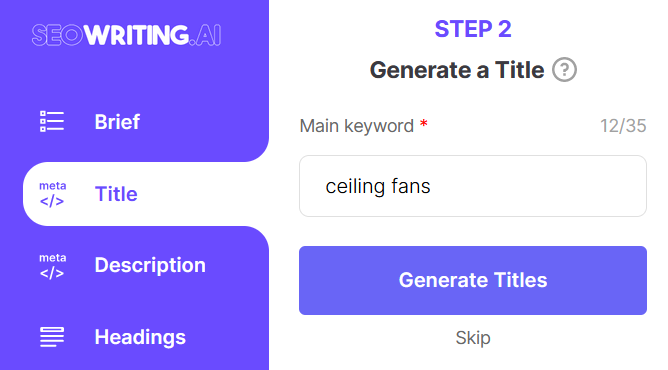
Enter your main keyword
If you want to create a How-to Guide with a high-quality SEO score, click on the checkbox and fill in additional information in the Brief:

Specify the keywords that should occur in the article. To add a keyword, click Add button.

By default, the frequency of the keyword in the text is set to 1. If required, you can specify the desired value on the left.

When generating text, our AI tools will include the specified keywords in the text when possible.
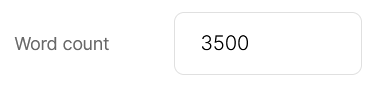
Specify the required number of words:
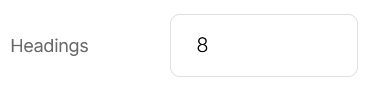
The number of headings:
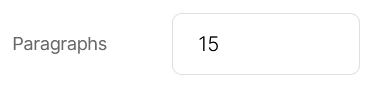
How many paragraphs there should be in the article:
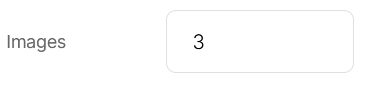
The number of pictures:
Mark where the main keyword should appear:

Then click Save and Continue:
Generating the Title
Click the generate button:
From the suggested titles, choose the one you like:
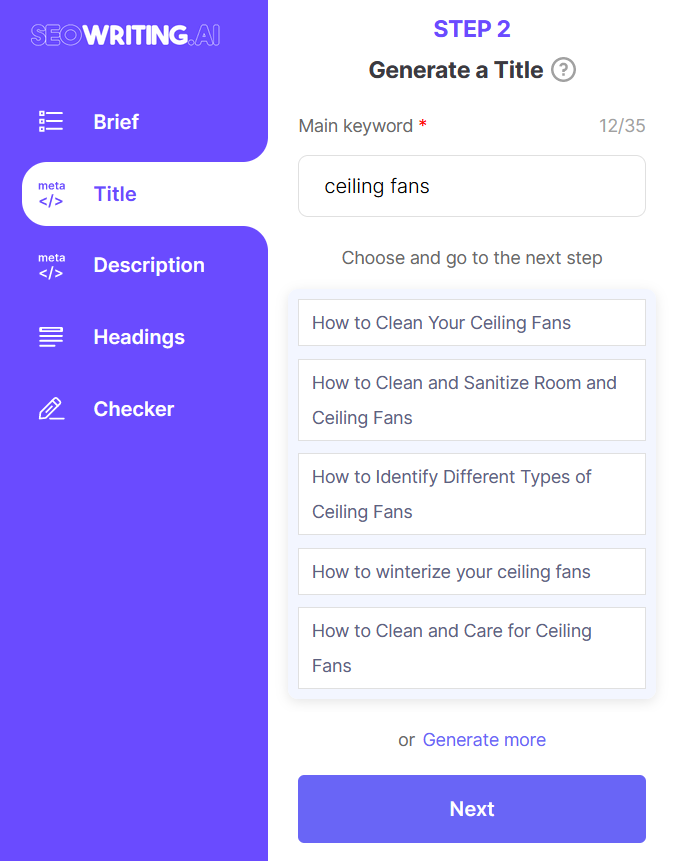
If you need more options, click Generate more.
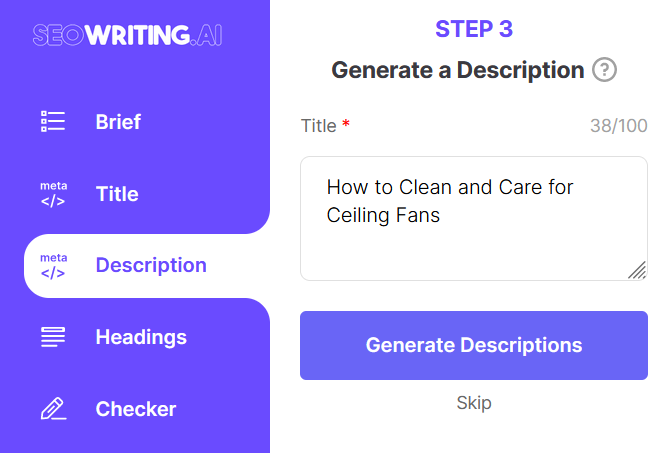
Generating the Description
Click the generate button:
From the suggested descriptions, choose the one you like:
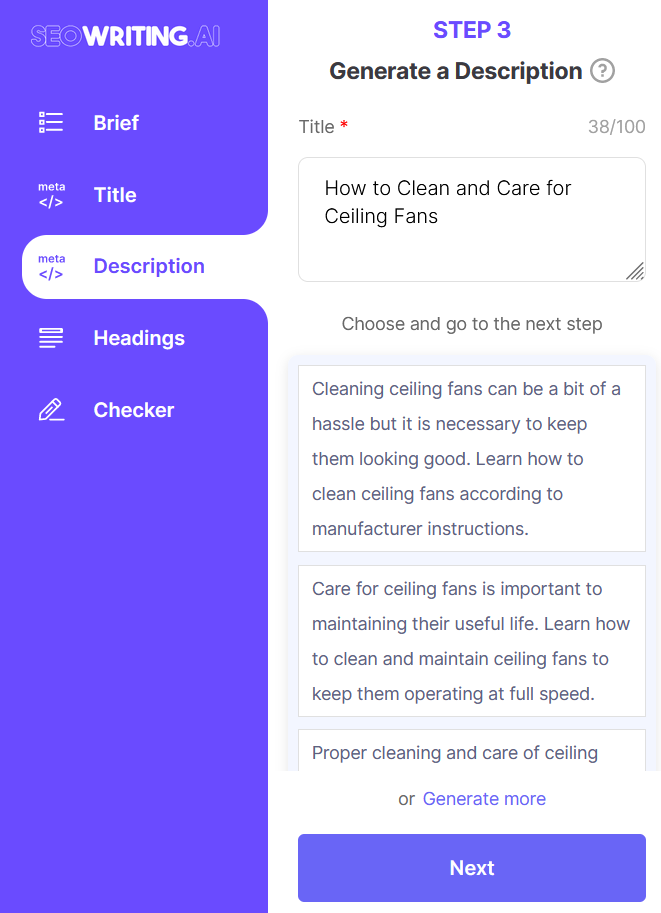
If you need more options, click Generate more.
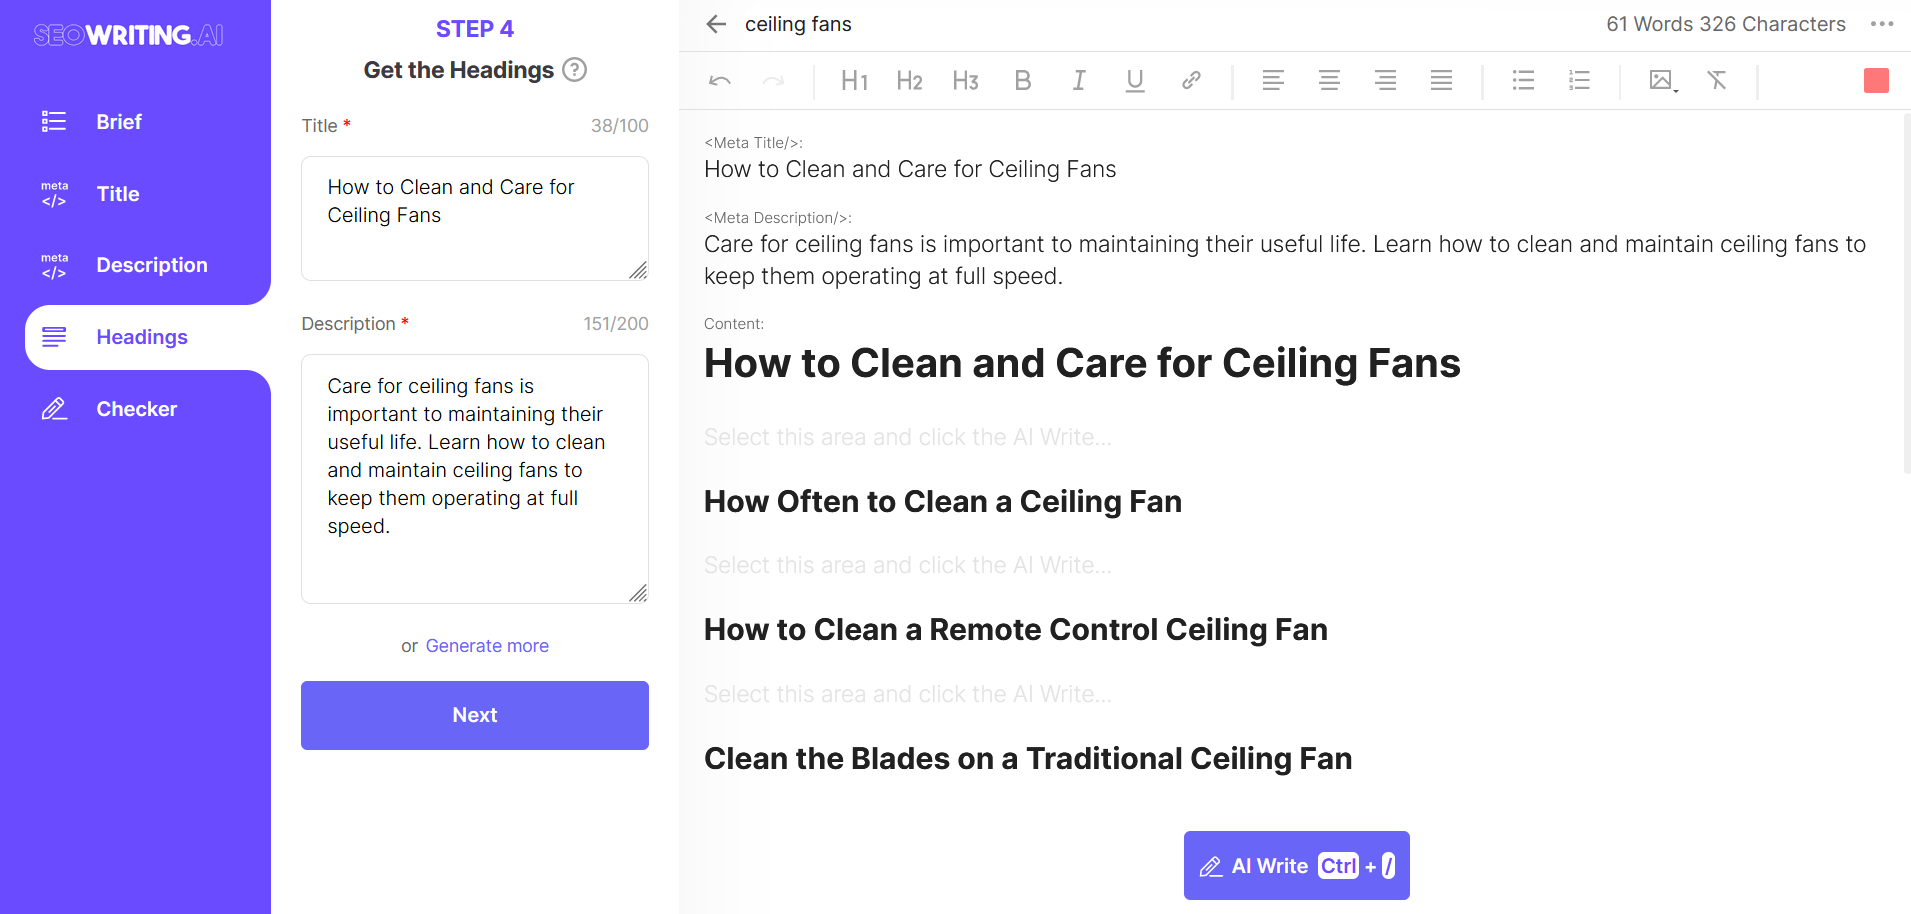
Generating Headings
Click the generate button:
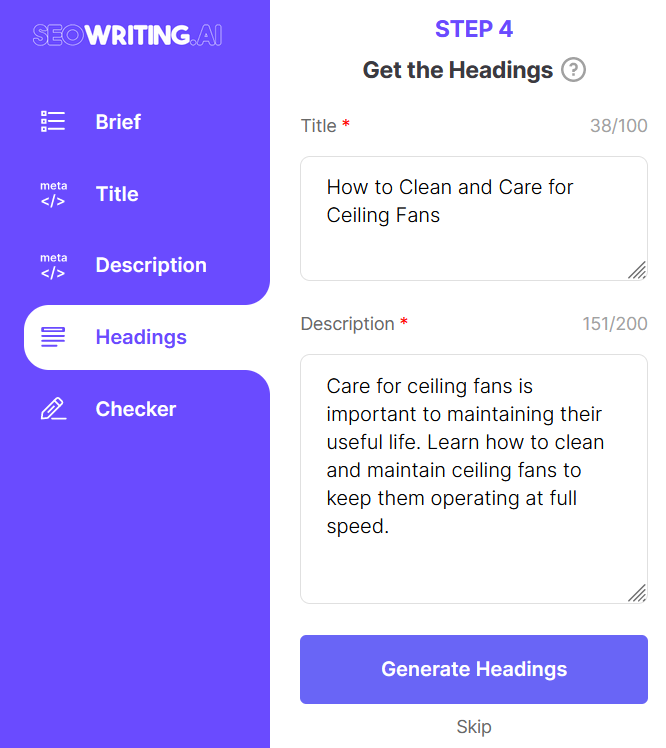
The headings will be added to the editor:
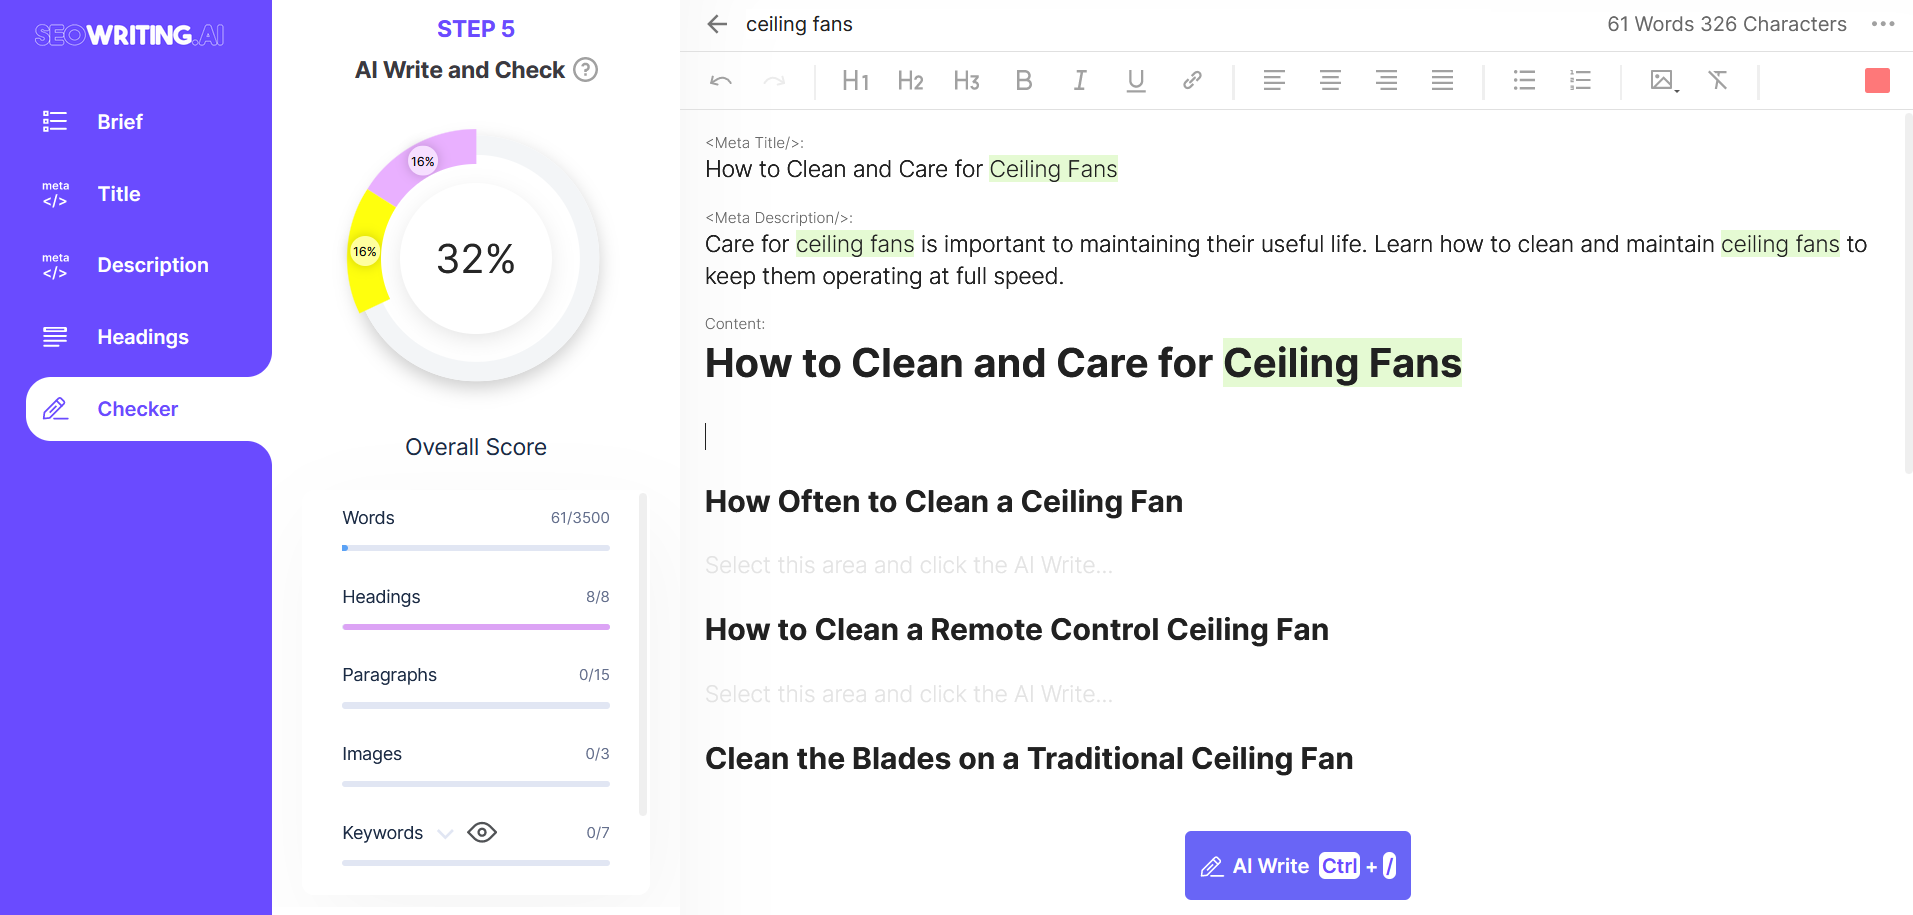
Writing and checking the text
In the editor, place the cursor in the desired field and click AI Write. The cursor can be positioned after a heading or after a paragraph.
Wait until the text is written:
The generated text will appear at the location where the cursor was positioned:
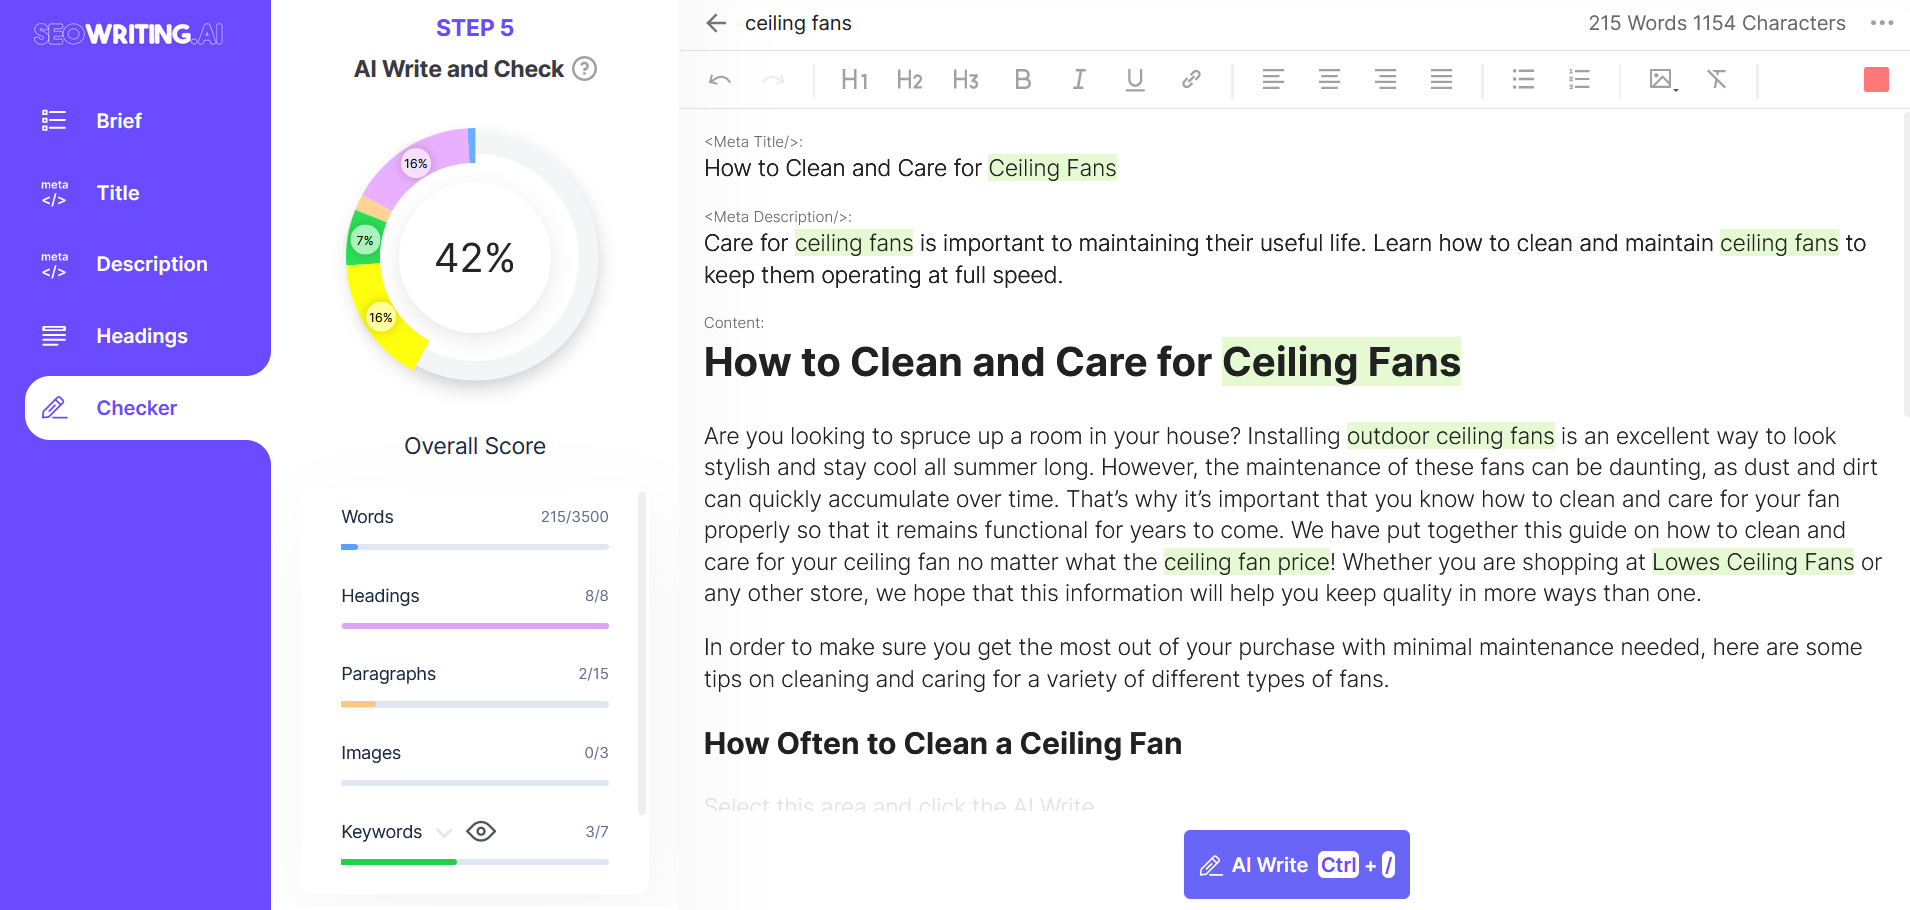
Repeat this operation until the desired number of words are written. If necessary, make corrections to the generated text at each step.
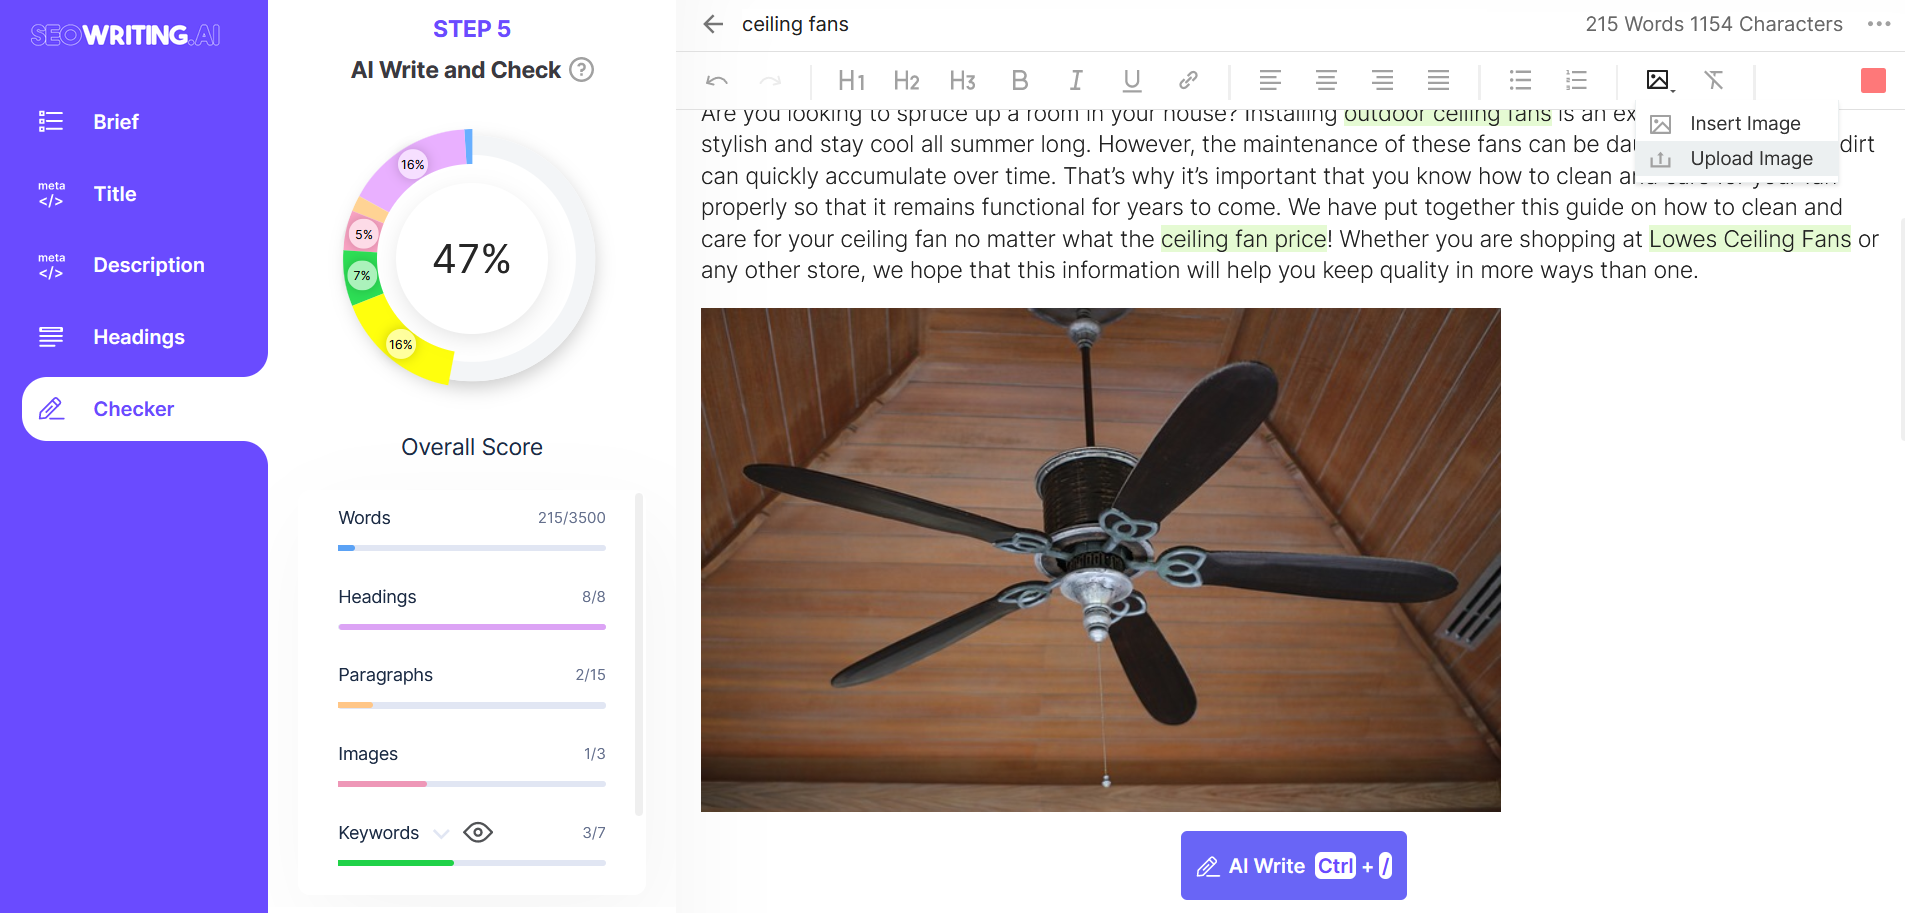
Adding Images
Place the cursor where you want to add the image. Then select Insert Image or Upload Image in the editor at the top right.
Checking and Optimizing
To the left of the editor, in a handy checker, keep track of your writing progress.
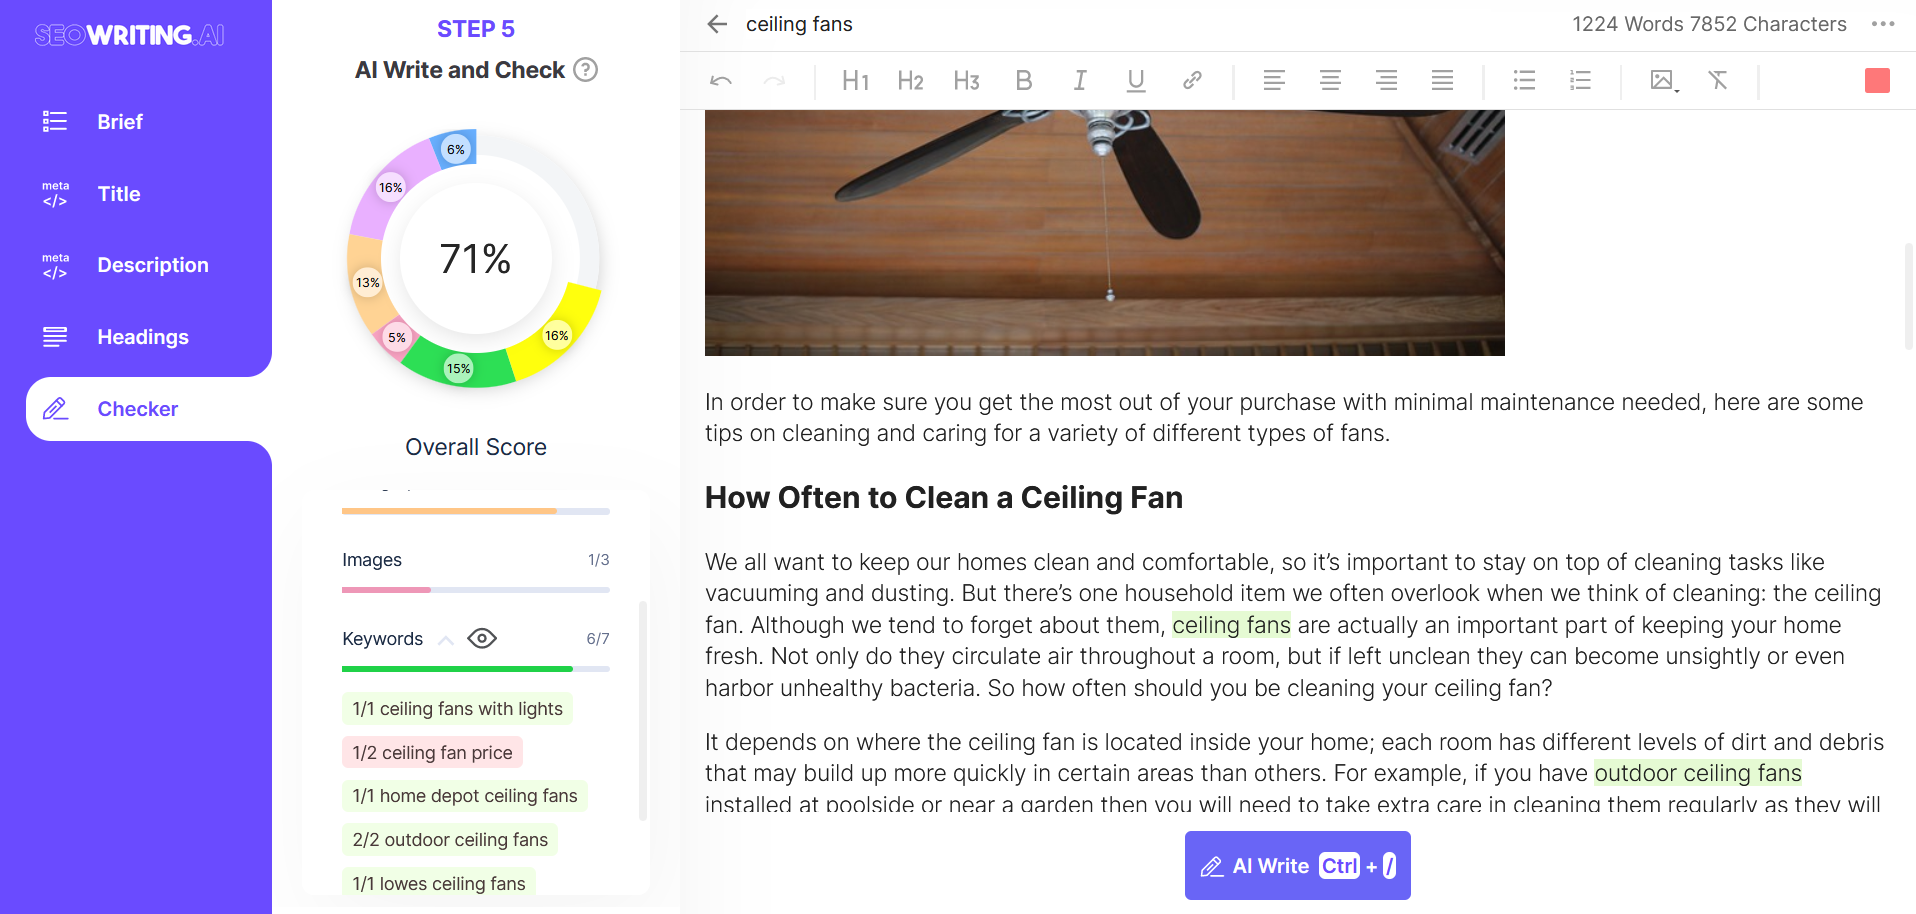
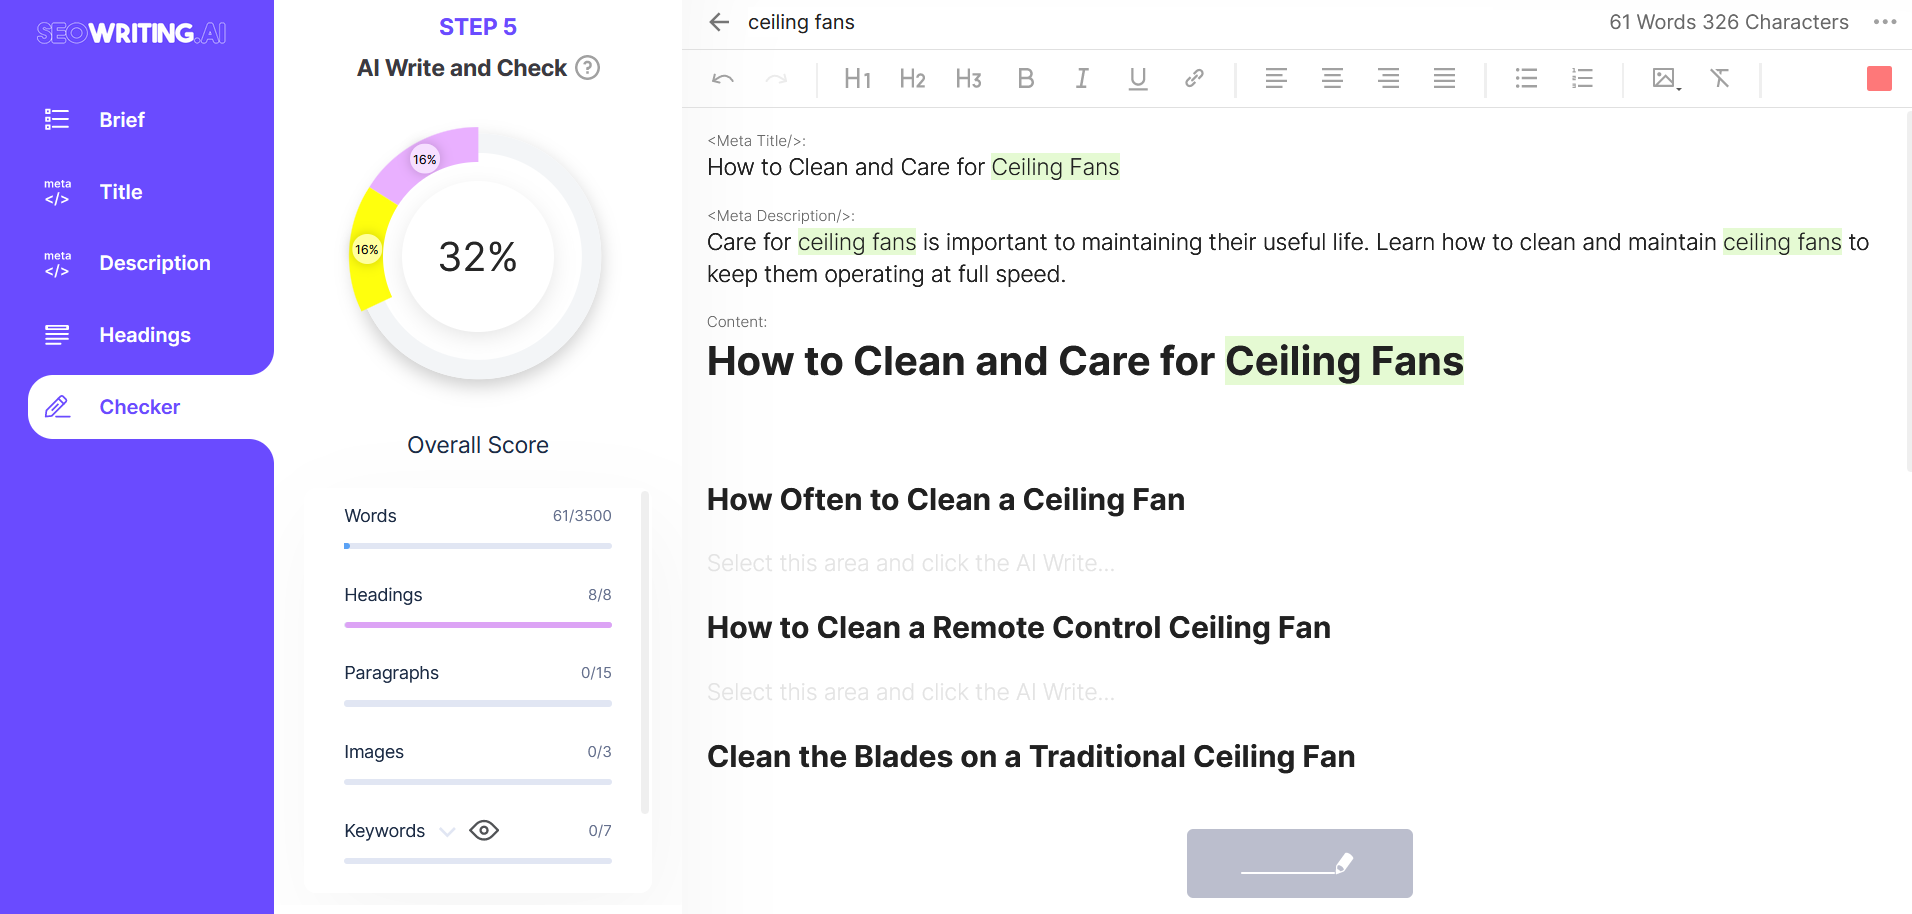
For convenience, you can expand the list of keywords and enable their highlighting in the text.
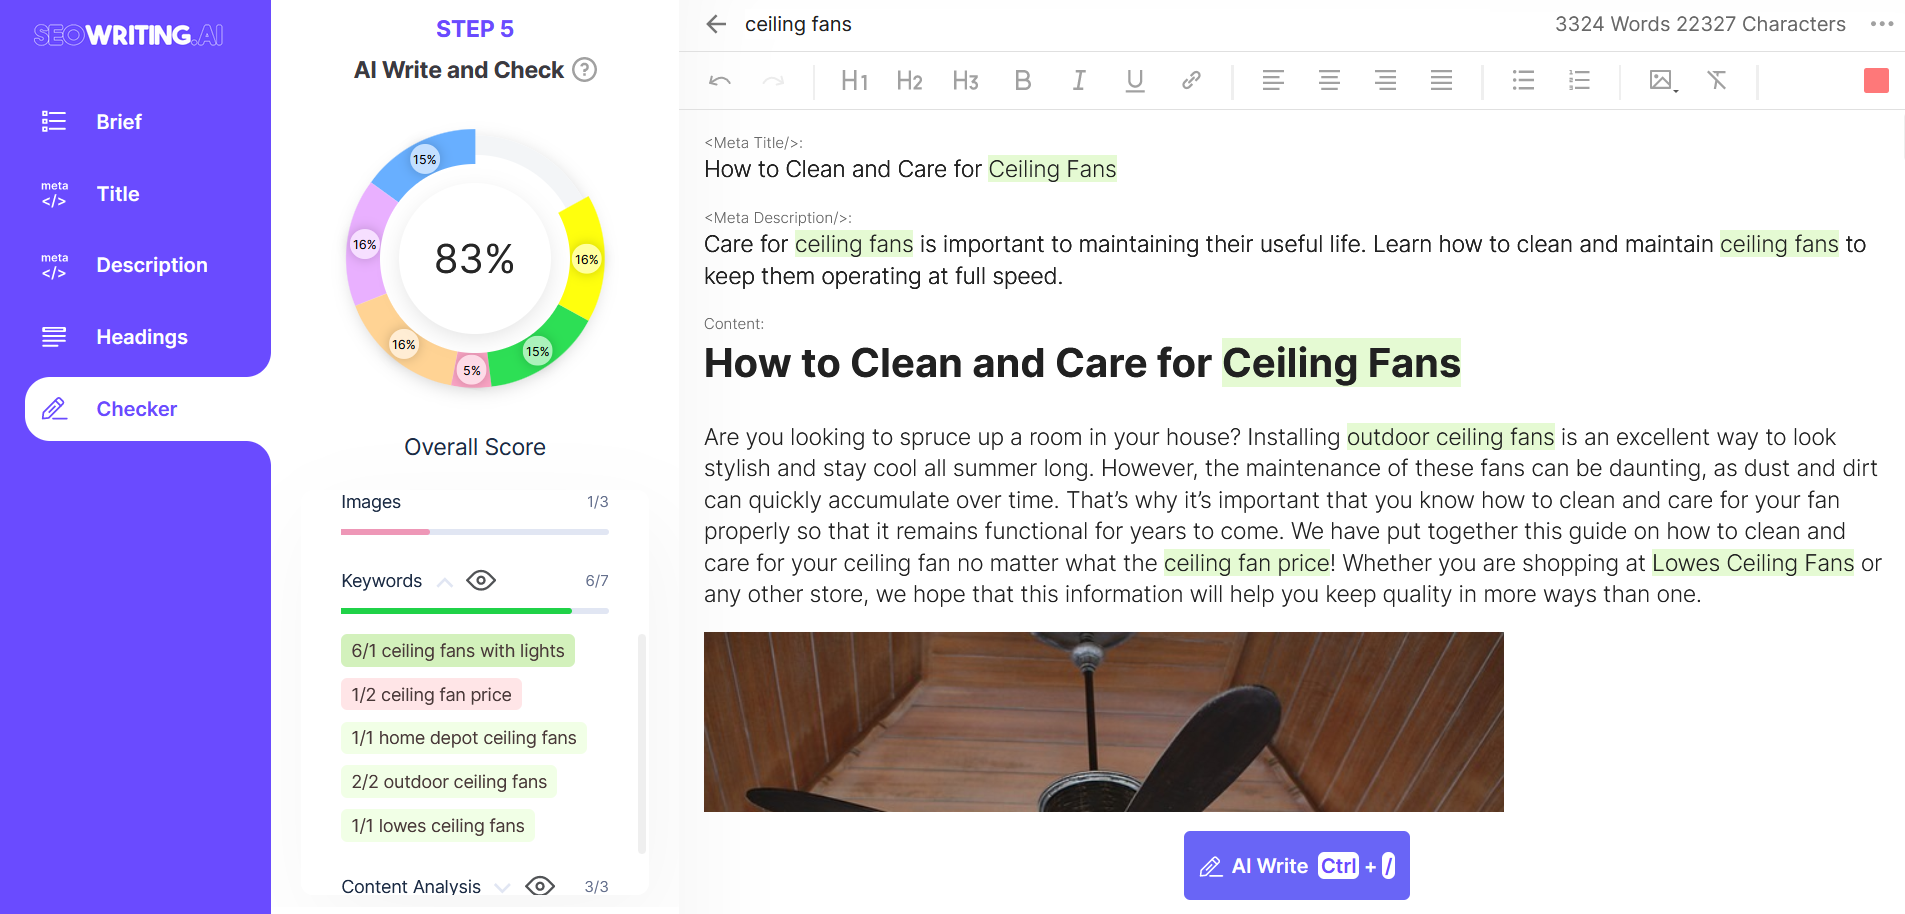
You can also expand the General Settings and turn on the highlighting of the main keyword.

Check and optimize the text until it meets your requirements. A handy checker can make the process faster and easier. A score of "100%" is an excellent result.
Exporting the document
If necessary, you can download the document in html format. Just click "..." at the top right and choose Download HTML.

That's it! If you encounter any difficulties or have any questions about creating Hot-to Guides, please chat or email us.