Bulk Article Generation
Auto-Posting: 1000 Articles in Hours!
In this step-by-step guide, we'll show you how to create 1000 Articles in Hours and post them automatically on the WordPress website.
Opening the tool
In your Dashboard click on the Bulk Article Generation.

Also you can open Bulk Article Generation easy from any page.

1. Adding main keywords, titles, additional keywords, outlines.
It's very easy to add up to 100 article-generation tasks.
Note: "Keywords", "Outline", "Article Type", and "Article size" options are determined automatically based on SERP with Llama 4, Claude 4.5 Sonnet, GPT-5.2 and DeepSeek V3 AI models that have Real-Time SERP option. These AI models with 🔎 Real-Time SERP analyze the top 10 SERP results to reveal keywords, article type, number of headings and words in your niche, and automatically apply this when creating articles, bringing better rankings and more organic traffic 📈 to your website. These AI models maintain keyword frequency within recommended limits (under 2%). Also, these AI models don't require a title.
1.1 Uploading an Excel file
Click on the "Import from Excel" button.

Select an Excel file:

By default, values from the first 4 columns are loaded starting from the 1 line. But it can be done also from other columns if you name them Main Keyword | Title | Keywords | Outline (as in the picture above).
-In the Keywords field, you can add values up to 2500 characters long. Keywords must be separated by commas.
-All Excel formats are supported.
-Upload file size - no more than 3 MB.
To indicate tags H1, H2 and H3 in the Outline, it’s required to put the Markdown tags #, ## and ### before each of the headings. Headings without these tags will be removed when you copy & paste or upload from Excel file.
Headings in the Outline must be specified on one line (Click here to view an example):

You can also specify headings in the Outline each on a new line (Click here to view an example):

In Outline you can set 1 heading H1, up to 18 headings H2 and up to 4 headings H3 under each of H2. The length of each heading is limited to 100 characters. Headings outside these limits will be removed when you copy & paste or upload from Excel file.
"Conclusion" and "H3" settings from the Structure block do not work if the Outline fields are filled in.
If the Import from Excel is successful, the fields should be filled in automatically.

1.2 Copying from Excel file
Copy rows from an Excel file.

For copy & paste to work correctly, headings in the Outline must be specified on one line.
Put your cursor in the first row of "Main keyword" and then press CTRL+V.

1.3 Autocomplete Mode
Enter the main keyword. Press the "Generate" button.

It will generate the main keywords for the next tasks. You can press the "Generate button" for up to 100 generation tasks. You can delete the main keywords and generate new ones if necessary.

You can generate Titles by pressing the "Generate" button.

Generating NLP keywords by pressing the "Generate NLP" button.

Generate Outline in 1-Click by pressing the "Generate" button.

All fields will be filled in automatically.

The Connect to Web option does not apply when generating an Outline.
2. Core Settings
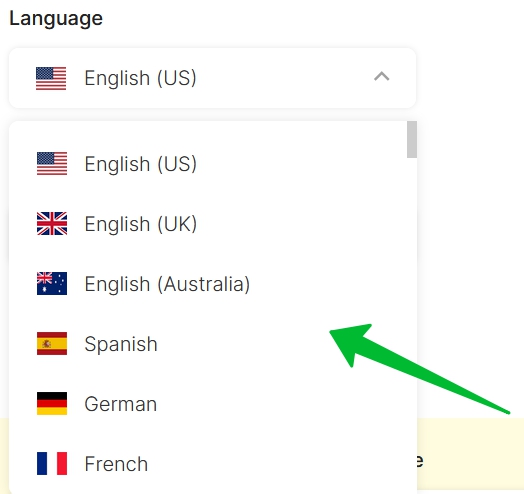
Select the language for the articles.
Select Article Type which the AI model will follow.

Select article size.

Choose AI Model.

Details about AI Models can be found here.
Turning on Humanize Text.

Humanize Text example here.
AI Content Cleaning

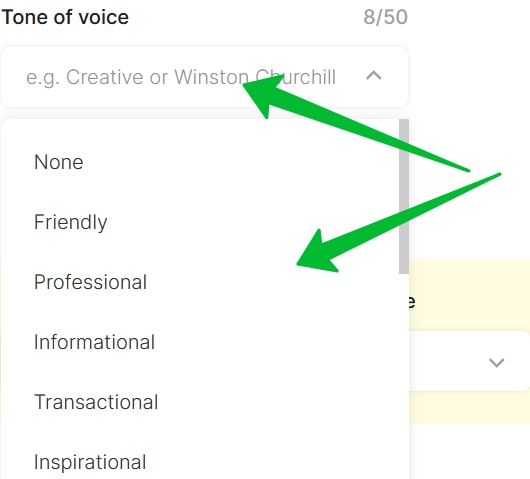
Choose a Tone of voice. You can also write your own tone of voice.
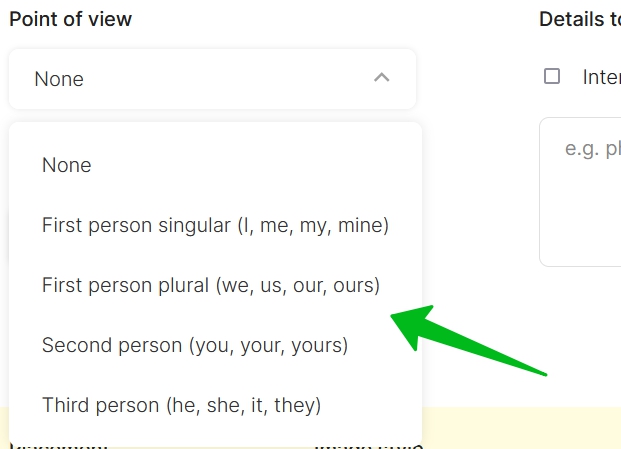
Choose a Point of view.
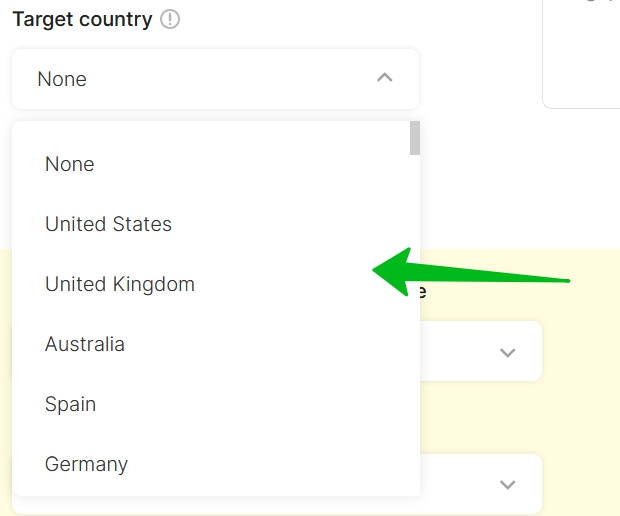
Select the target country.
Add your writing style for articles.

More details about "Brand Voice" can be found here.
Add details you want to be included in the text.

More about "Details to Include" can be found here.
5. Media Hub
Generate images 🖼️ and add YouTube videos 🎥 along with your article using the Bulk Article Generation.

More details about "Media Hub" can be found here.
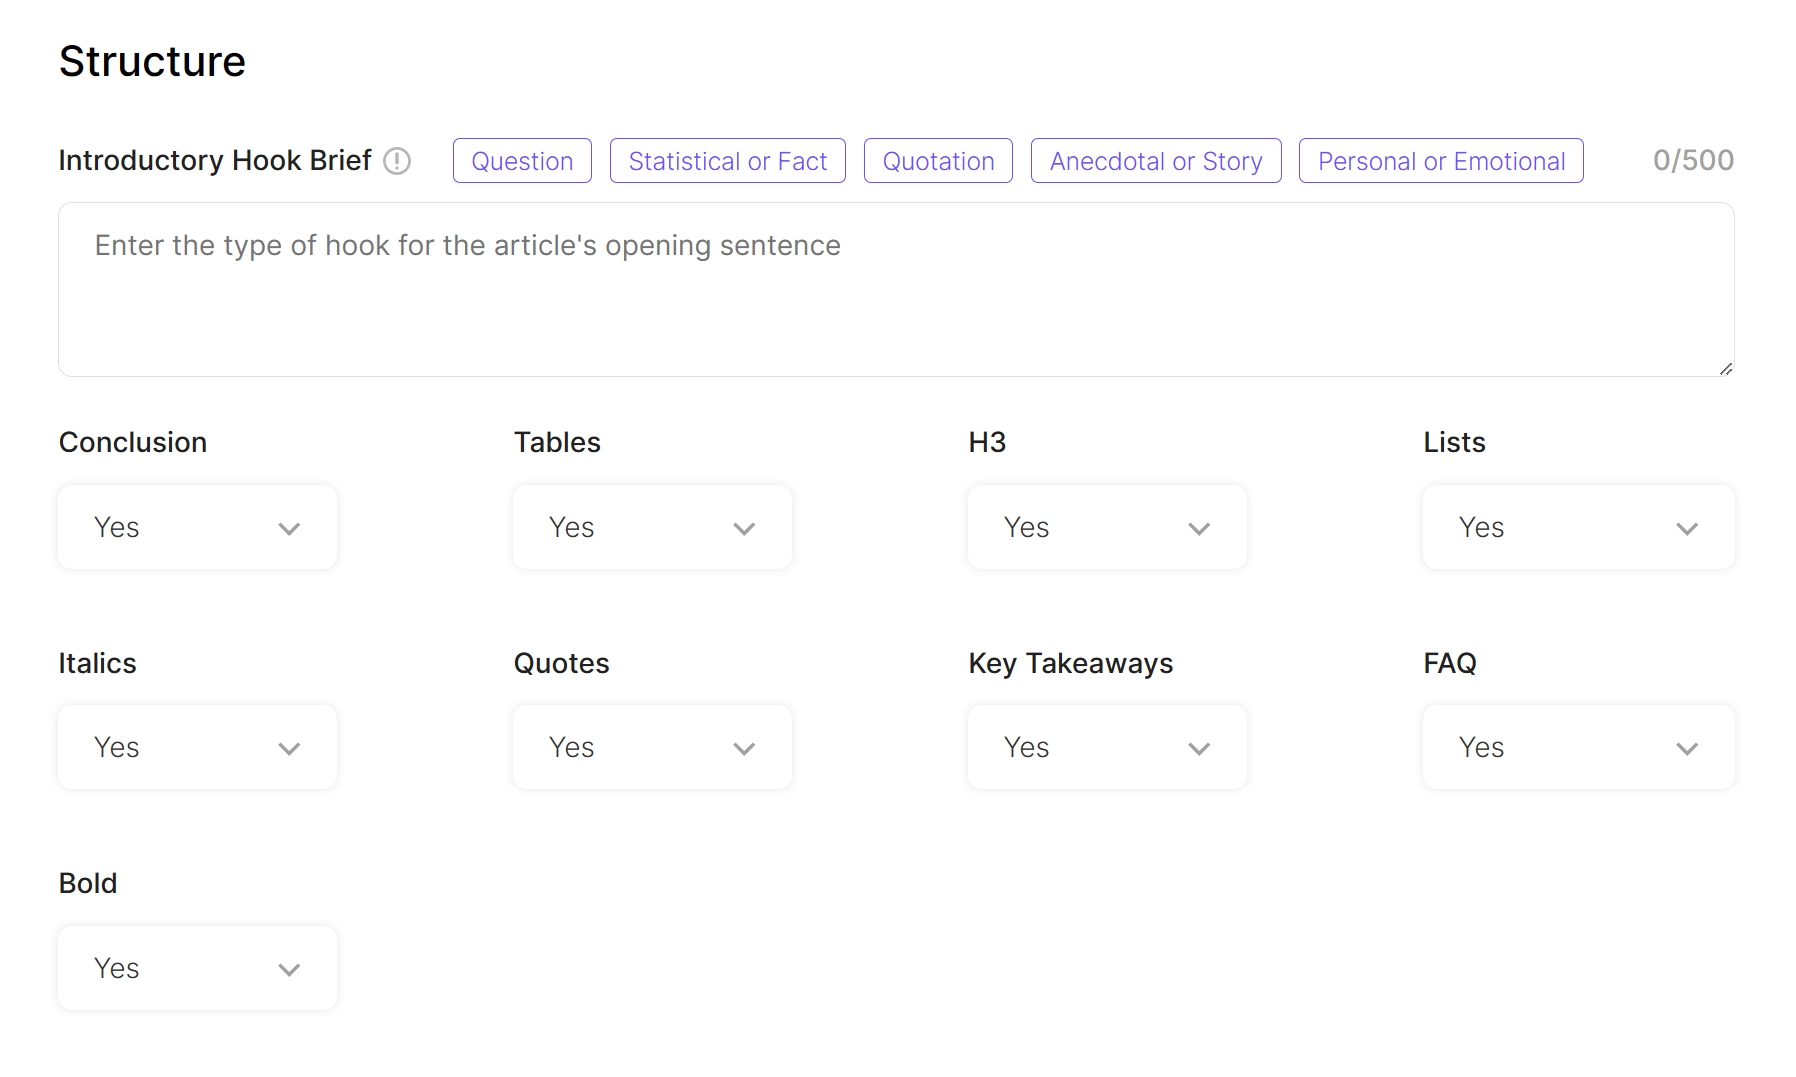
6. Article Structure
You can set up article structures.
7. Internal Linking
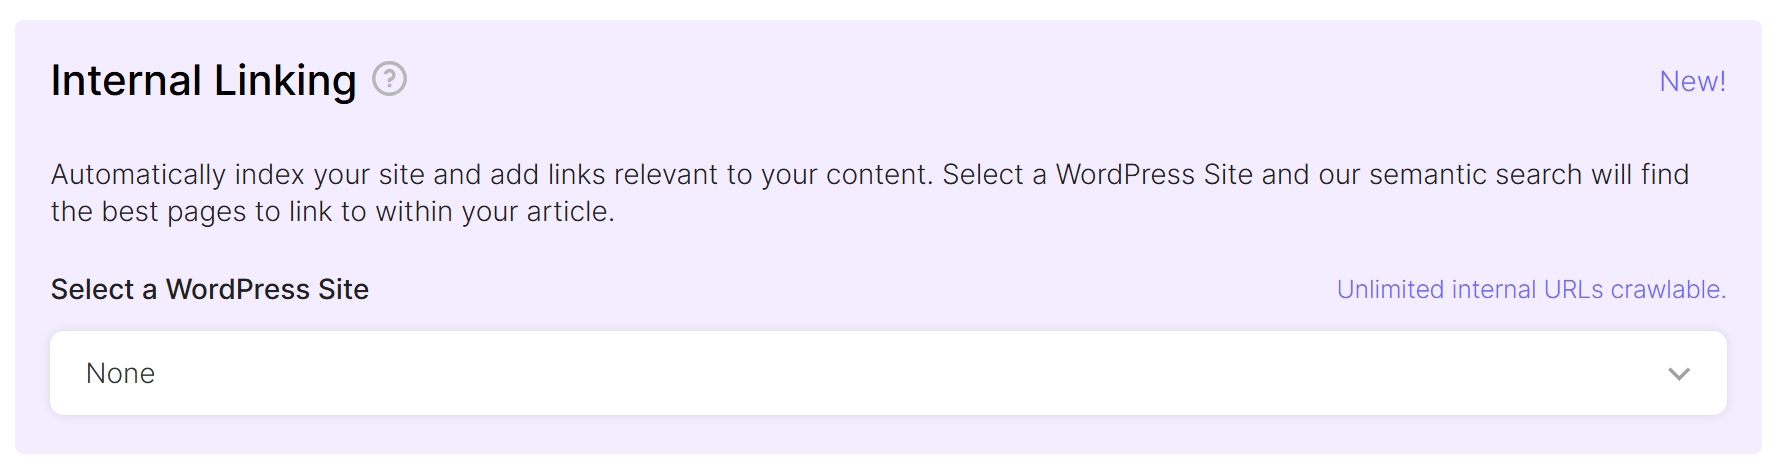
More details about "Internal Linking" can be found here.
8. External Linking
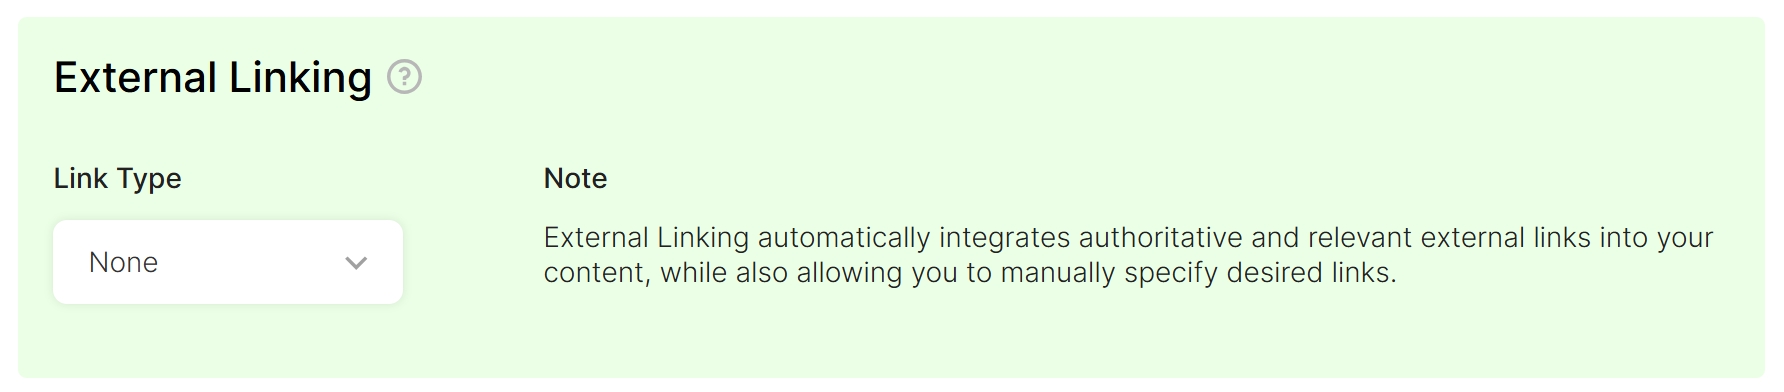
More details about "External Linking" can be found here.
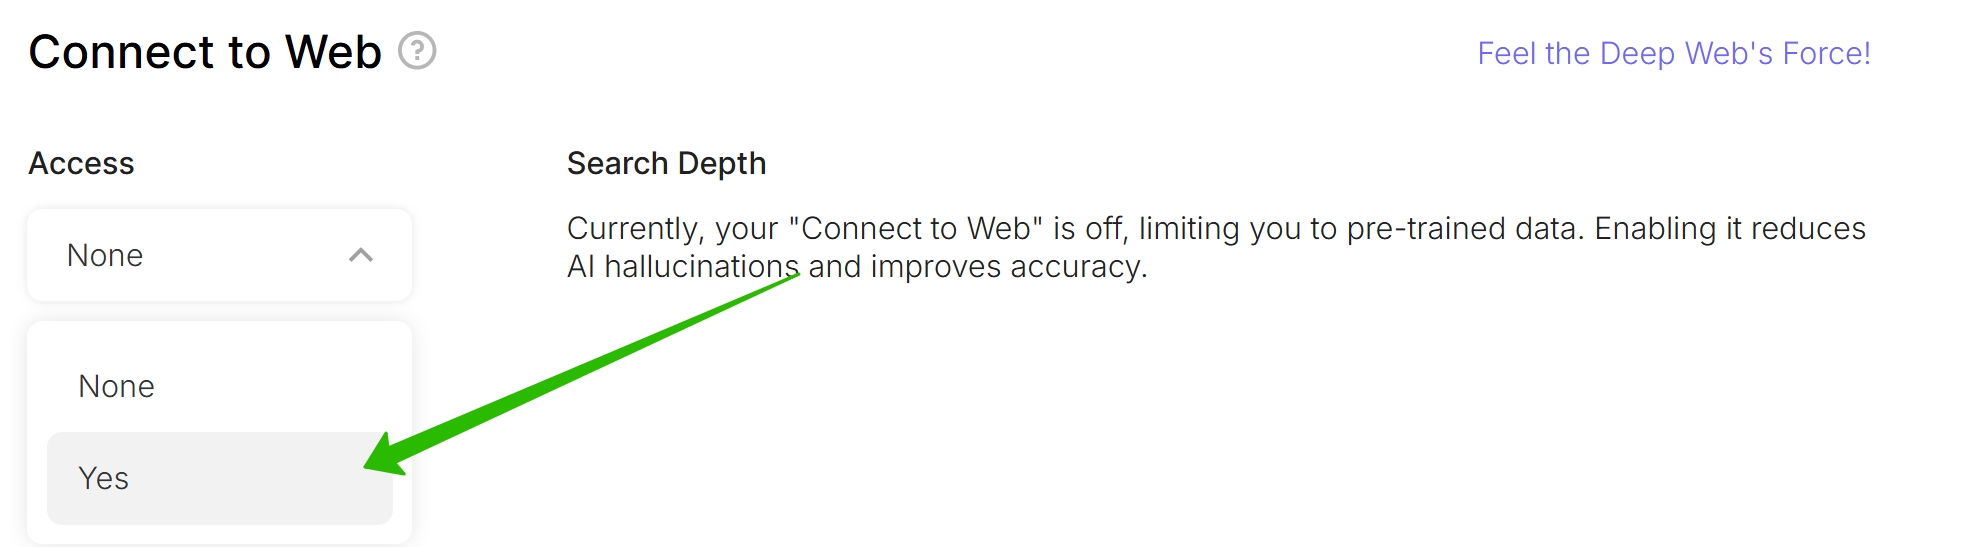
9. Connect to Web
To turn on "Connect to Web" select "Yes".
Detailed instructions on how to use "Connect to Web" can be found here.
10. Syndication
It can help you boost your brand exposure, draw more traffic to your website, and improve your lead generation and conversion rates. 🌐
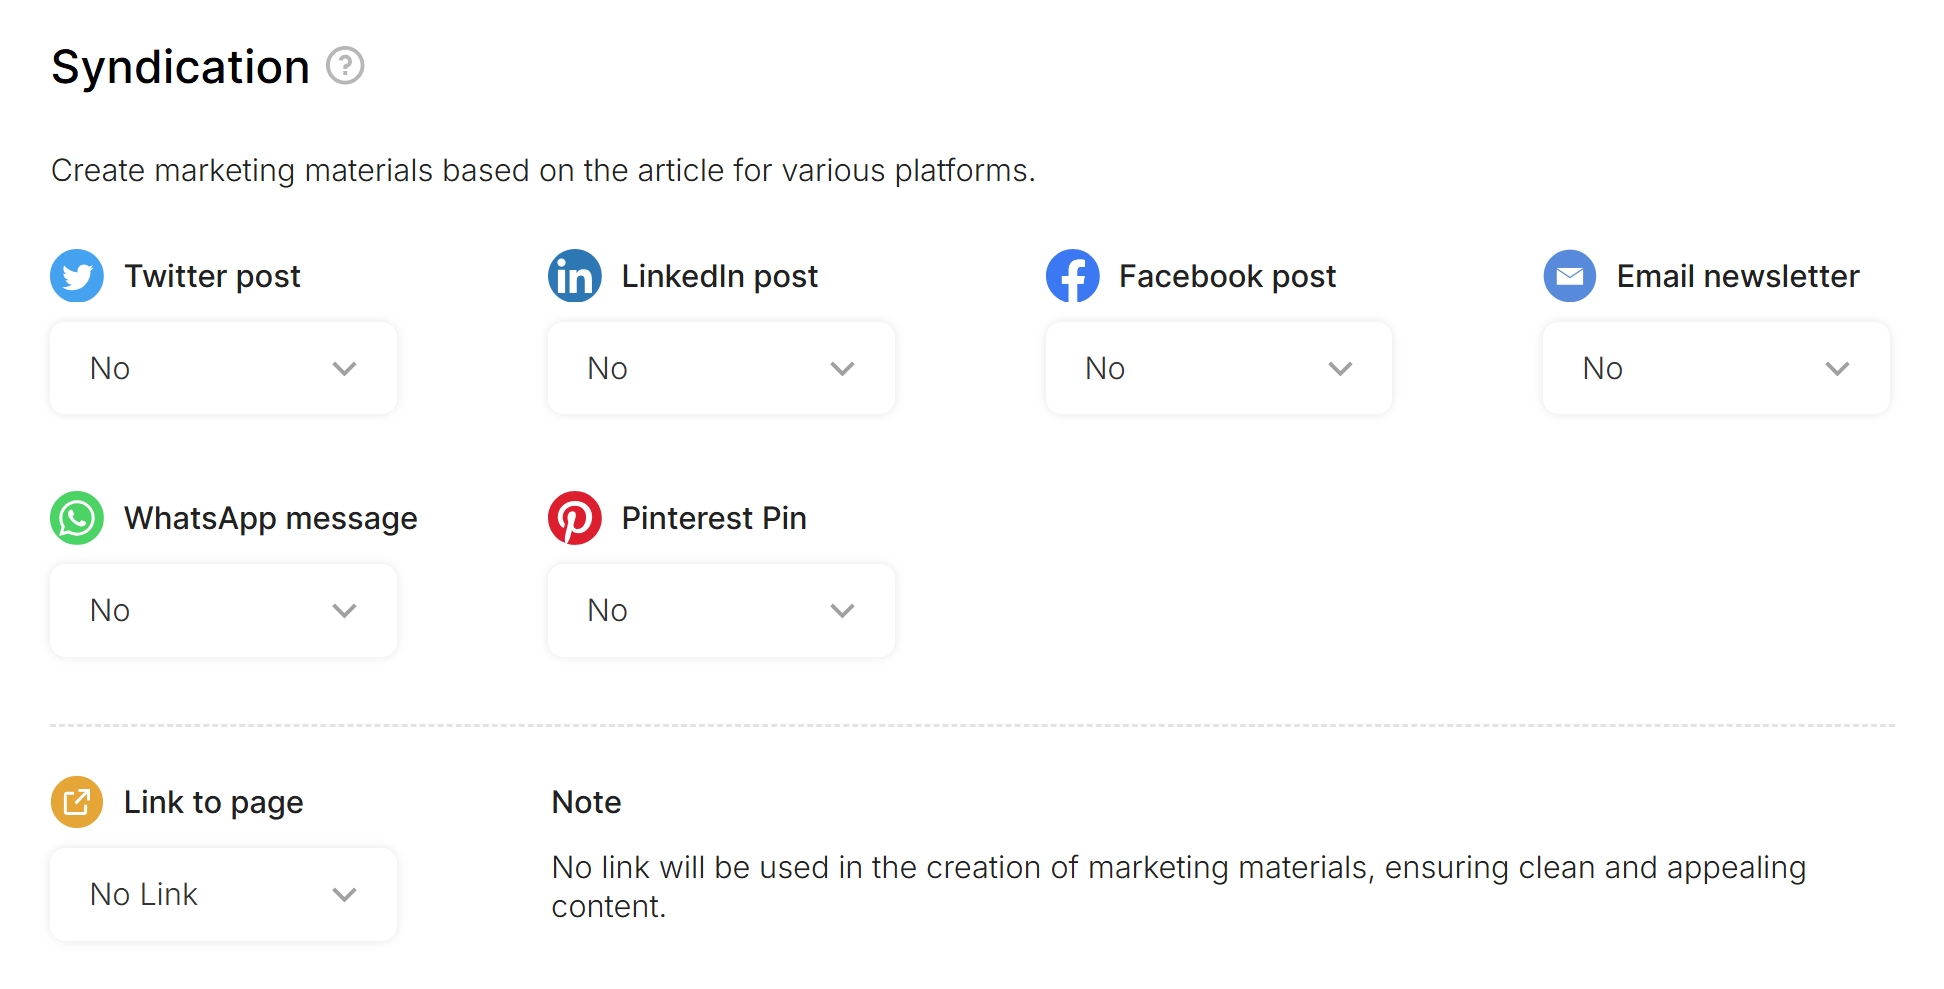
Detailed instructions on how to use "Syndication" can be found here.
11. Saving Documents
You can select the folder where to save all articles.
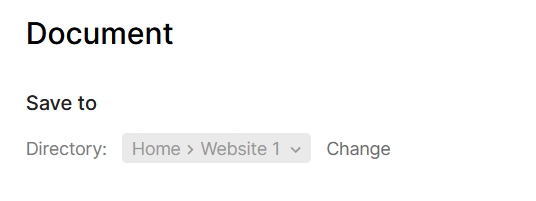


After that, you should be able to choose the directory.

12. Publish to WordPress
You can turn ON auto posting to the WordPress website.

Detailed instructions on how to use "Publish to WordPress" can be found here.
13. Run Bulk Article Generation

14. Generation process
You can see the generation process.

15. AutoPosting to WordPress website
After finishing generation all posts will be automatically published (scheduled) on the WordPress

That's it! If you encounter any difficulties or have any questions about Bulk Article Generation, please chat or email us.